Sensory Bottles · Ages 1–4 · Calm Play
DIY sensory bottles — also called calm-down bottles or discovery bottles — are a small piece of sensory-play magic. They're mess-free, take minutes to make, cost almost nothing, and give toddlers a mesmerising, genuinely calming thing to hold and watch. Here's how to make them, plus 8 sensory bottle ideas your toddler will love.
Why sensory bottles are worth making
A sensory bottle gives a toddler controlled, contained sensory input — swirling glitter, drifting beads, moving colour — all sealed safely behind plastic. Watching the slow movement is naturally absorbing, and that focus is exactly what helps an overstimulated or upset toddler slow their breathing and settle. Many families keep one as a go-to "calm-down" tool for the edge of a meltdown.
They're also a brilliant value activity. A sensory bottle is completely mess-free, needs only a clear bottle and a few household bits, and lasts for months. Beyond calming, the different bottles teach colour, encourage looking and noticing, and make a perfect quiet-time or travel activity. The trick is sealing them well so they're toddler-proof.
Free sensory play download
Get the Free Sensory Play Starter Kit
A real parent guide that tackles the mess head-on, 20 sensory bin recipe cards with low / medium / full mess ratings, a “sensory play from what’s in your cupboard” finder, troubleshooting for fussy and mess-averse toddlers, taste-safe recipes for the youngest, and a seasonal sensory planner.
Download the Free Sensory Kit →How to make a sensory bottle
The basic method takes five minutes. Use a clear plastic bottle with a tight lid, fill it about three-quarters with your liquid and contents, leave a small air gap so things can move, then glue the lid on firmly with strong glue and let it cure fully before handing it over. For a slow, mesmerising swirl, fill with warm water plus clear glue or a little clear hand soap — more glue means slower movement.
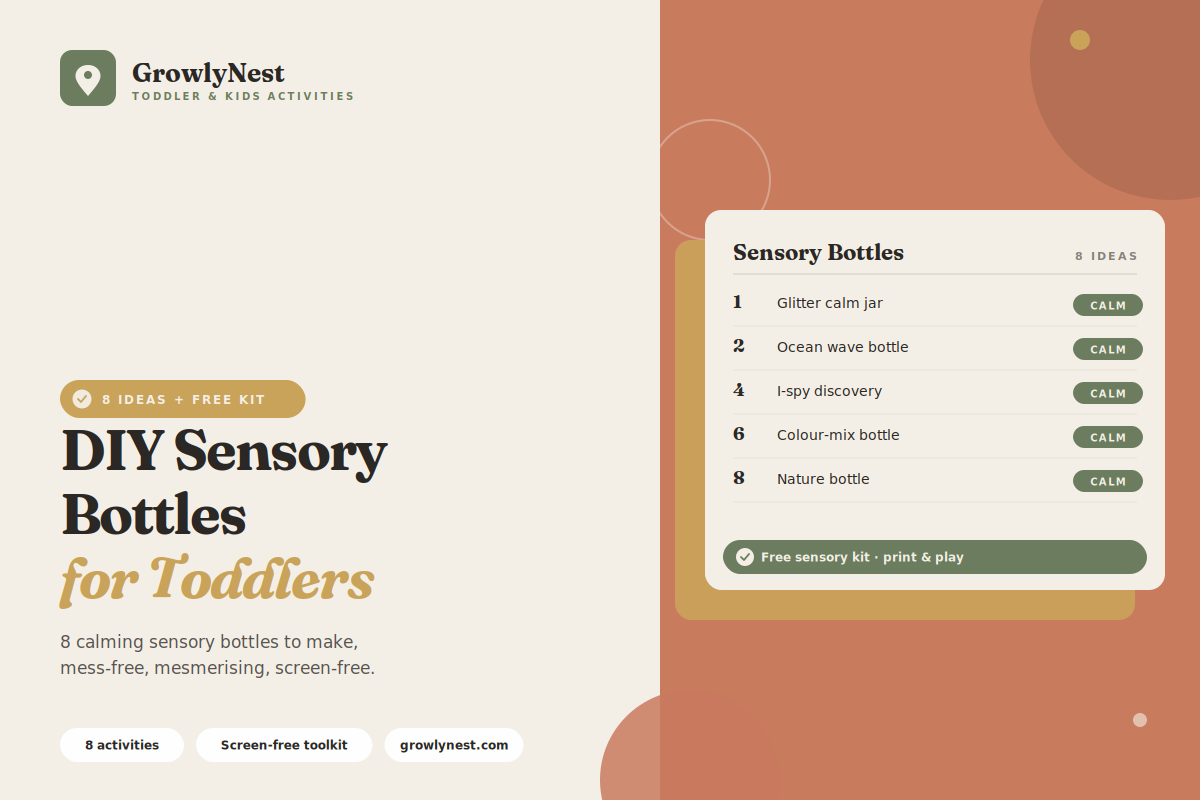
01. Glitter calm-down jar
Warm water, clear glue, and fine glitter. The glitter swirls and then slowly settles — give it to an upset toddler and the breathing-and-watching naturally calms them as the glitter falls.
02. Ocean wave bottle
Fill two-thirds with water dyed blue, top up with clear oil, and add a few small shells or sequins. Tip it slowly and a gentle "wave" rolls back and forth.
03. I-spy discovery bottle
Fill a bottle with rice and tuck in tiny objects — a button, a bead, a small toy. Your toddler turns and shakes it to spot each hidden treasure, building looking skills and patience.
04. Colour-mixing bottle
Layer water dyed one colour with oil and a few drops of another colour. Shaking and settling shows colour and how oil and water behave — quiet science in a bottle.
05. Floating and sinking bottle
Water with a mix of small objects — some that float, some that sink. A safe, sealed way to explore an early science idea.
06. Sound bottle
Fill with a dry filler — rice, dried beans, small bells, or pasta — for a shake-and-listen bottle. Make a few with different fillers to compare the sounds.
07. Nature discovery bottle
After a walk, seal small natural finds — petals, leaves, tiny pine cones — in water or dry, so your toddler can keep exploring their treasures safely.
08. Slow-motion bead bottle
Water, clear glue, and a handful of sequins or small beads. The beads drift down slowly when tipped — endlessly watchable and very soothing.
Worried about the mess?
Mess is the number one reason parents skip sensory play. The free Sensory Play Starter Kit tackles it head-on — with 20 sensory bin recipe cards rated low, medium, or full mess, and real troubleshooting for “my child eats everything” and “my child hates getting messy.”
Get the Free Sensory KitHow to make great sensory bottles
1. Seal the lid properly
This is the most important step. Glue the lid on with a strong adhesive such as a hot-glue gun or super glue, and let it cure fully before your toddler touches the bottle. A well-sealed bottle is a safe bottle.
2. Use sturdy clear bottles
Choose tough, clear plastic bottles — smoothie or drink bottles work well. Avoid glass, and avoid thin bottles that crack or leak.
3. Adjust the speed with glue
More clear glue makes the contents move more slowly and last longer on screen — ideal for a calm-down bottle. Less glue gives faster, livelier movement.
4. Make a small set
A few different bottles — a calm jar, an I-spy, a sound bottle — cover calming, discovery, and quiet-play needs. Rotate them to keep the novelty.
Frequently asked questions
Are sensory bottles safe for toddlers?
Yes, when made properly. Use a sturdy plastic bottle (never glass) and glue the lid on securely so it can't be opened. A well-sealed bottle keeps all the contents safely inside.
What can I put inside a sensory bottle?
Water with glitter, sequins, beads, or small objects; dry fillers like rice or beans for sound bottles; oil and water for wave bottles; natural finds like petals and leaves. Almost anything small and safe-when-sealed works.
How do sensory bottles help calm a toddler?
Watching slow, predictable movement gives an upset toddler something to focus on, which naturally slows their breathing and helps them settle. Many families use a glitter calm-down bottle as a go-to tool for big feelings.
How long do sensory bottles last?
A well-sealed bottle lasts for months. If a water bottle eventually clouds, simply make a fresh one — it costs almost nothing.
Can I make sensory bottles with my toddler?
Yes — toddlers love helping to drop in glitter and objects and to choose colours. Just do the lid-sealing yourself, away from little hands, and let it cure before play.
The Sensory Play Starter Kit
Sensory play, minus the mess stress
Everything in one free download: a real parent guide to handling the mess, 20 sensory bin recipe cards with mess-level ratings, a cupboard-finder for instant ideas, troubleshooting for “eats everything” and “hates getting messy,” taste-safe recipes for babies, and a seasonal sensory planner.
Download the Free Sensory Kit →Free forever · No spam · Unsubscribe any time
From the GrowlyNest family — helping you raise curious, confident toddlers through hands-on play.
You're getting — completely free
Free Sensory Play Starter Kit
Here's how to get it
It arrives in 1–2 minutes — check your inbox now.
If you don't see the "Gift File" check your Promotions or Spam folder. Drag it to your main inbox so future emails reach you.
Loading Viewer...